Nordic Walking Technique: 7 Common Mistakes
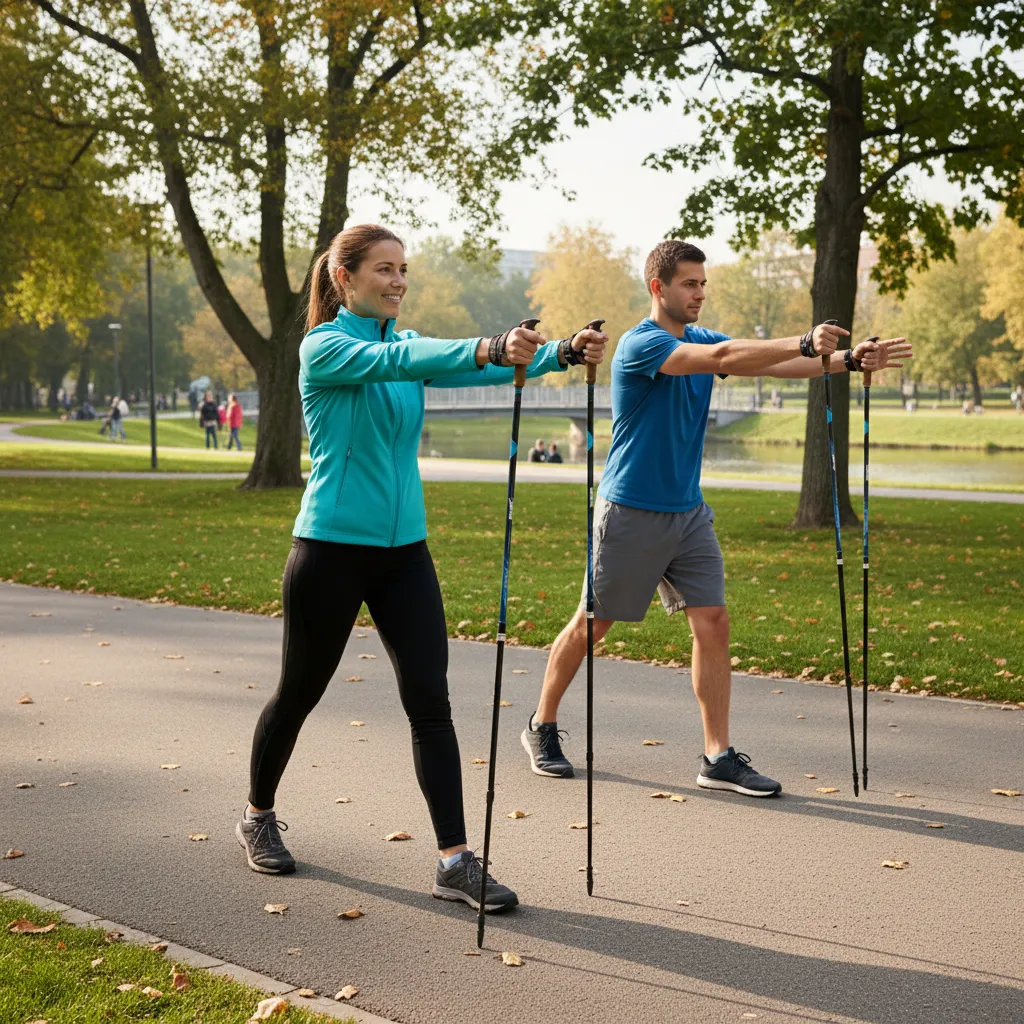
Even experienced Nordic walkers unknowingly develop bad habits that reduce efficiency and can lead to discomfort. Correcting these seven common technique mistakes will help you get more from every session and protect your joints.
Key Takeaways
The seven most common Nordic walking mistakes are gripping the poles too tightly, planting the pole too far forward, using the wrong poles, over-striding, hunching the shoulders, looking down, and skipping the cool-down.
- Grip: hold loosely and push through the strap; a tight grip kills power and tires the forearms.
- Pole plant: plant slightly behind, not far in front, to propel rather than brake.
- Posture: relax the upper traps and keep the gaze forward, not at the ground.
- Cool-down: finish with 5 minutes of stretching for chest, triceps, hip flexors and calves.
- Fastest fix: a 10-minute pre-walk drill done for 3 weeks corrects form faster than months of unaware walking.
Mistake 1: Gripping the Poles Too Tightly
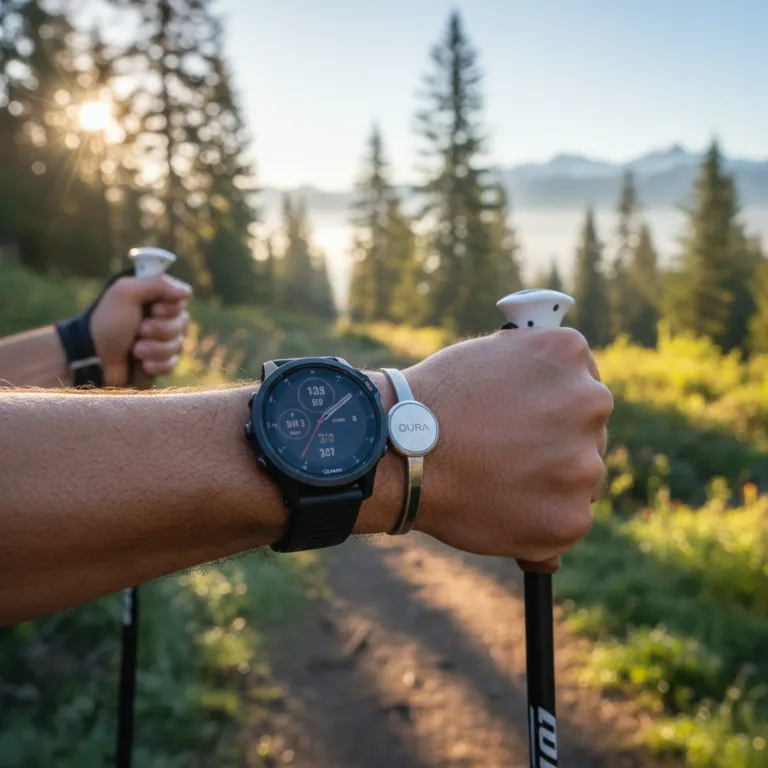
A white-knuckle grip is the most widespread error among beginners. When you squeeze the handle throughout the entire stride, the forearm muscles fatigue quickly and blood flow to the fingers is restricted.
The fix: grip lightly during the forward swing, then consciously open your fingers as the arm passes behind your hip. The wrist strap — not your hand — should carry the pole through the back-swing.
Mistake 2: Planting the Pole Too Far Forward
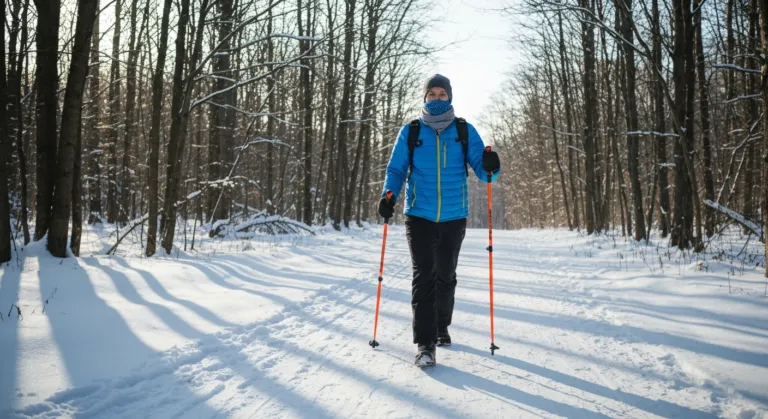
If the pole tip lands ahead of your leading foot, you are braking rather than propelling yourself. Correct pole placement is beside or slightly behind the opposite foot. Think of it as stabbing backward at roughly a 45-degree angle.
Mistake 3: Using the Wrong Poles
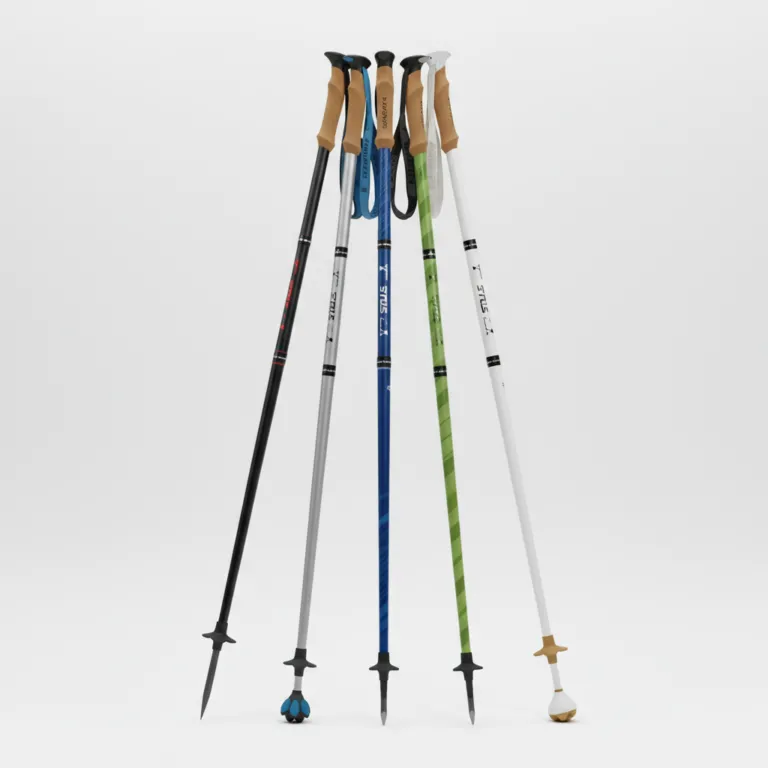
Hiking poles and ski poles are not designed for Nordic walking. They lack the ergonomic grip angle and wrist strap system needed for the push-and-release technique. Always use purpose-built Nordic walking poles.
Not sure which poles are right for you? Take our 2-Minute Gear Quiz for a personalized recommendation based on your terrain, budget, and experience level.
Mistake 4: Taking Too-Long Steps
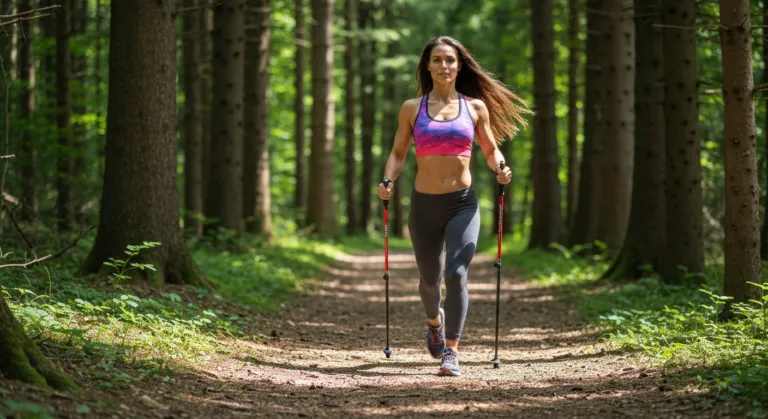
Overstriding shifts your center of gravity forward and strains the hip flexors. Keep your stride natural — slightly longer than normal walking, but never to the point where your front knee locks on contact.
Mistake 5: Hunching the Shoulders
Tension in the upper trapezius is common when walkers focus too hard on arm technique. Before each session, do three shoulder rolls backward. During the walk, periodically check: are your shoulders down and relaxed?
Mistake 6: Looking Down at the Ground
Dropping your gaze compresses the cervical spine and throws off your balance. Keep your eyes on the horizon, about 15-20 meters ahead. Trust your peripheral vision for foot placement.
Mistake 7: Skipping the Cool-Down
Nordic walking heavily engages the upper body. End each session with 5 minutes of gentle stretching for the chest, triceps, hip flexors, and calves. Your poles make excellent stretching aids.
Pros
Cons
- Takes 2-3 weeks to build muscle memory
- May need instructor feedback initially
- Hard to self-correct without video
Shop Adjustable Nordic Walking Poles on Amazon →
LEKI Micro Flash Carbon — Best Overall Poles →
TrailBuddy — Best Budget Poles →
The Fastest Way to Correct Your Technique: A 10-Minute Pre-Walk Drill
Correction without deliberate practice is slow. Most people try to fix technique by just walking more, which reinforces their existing errors. The following 10-minute drill sequence, performed before every session for 3 weeks, produces faster improvement than months of unaware walking.
Drill 1 — Pole Drag (3 min): Walk without hand in straps, dragging poles behind you. This isolates the push phase. You feel exactly where the push ends and can extend it deliberately past the hip.
Drill 2 — Exaggerated Arm Swing (2 min): Walk with poles, swinging arms to shoulder height forward, full extension back. Exaggeration breaks the shortened-swing habit. After 2 minutes of exaggeration, return to normal swing — range naturally increases.
Drill 3 — Single Pole (1 min each side): Walk with one pole only, alternating sides. This reveals lateral asymmetry in your technique. Most people push harder on their dominant side. Identifying this is the first step to correcting it.
Drill 4 — Open-Hand Walk (2 min): Walk with poles but do not close your hand around the grip at any point. Push entirely through the strap. This trains the fundamental hand-release that distinguishes Nordic walking technique from trekking pole use.
The Most Effective Self-Correction Tool
Film yourself from the side at 25% speed using slow-motion video. Technique errors invisible at real speed become obvious at 0.25x. Check: pole plant angle (should be forward at 70-75 degrees), arm extension behind hip (should reach full extension), heel strike timing, and shoulder height during push (should not rise above neutral). Fix the worst error for 2 weeks, then review again.
The Drill Protocol: Fastest Way to Fix Any Technique Error
Knowing what a technique error is and knowing how to fix it are two different problems. Most people understand the error after watching a video or getting feedback from an instructor — but the error persists during actual walking because the old motor pattern is deeply ingrained. Drills exist to overwrite that pattern.
The “Drag Drill.” Walk normally with poles held loosely and dragged behind you, tips trailing. This forces you to feel the natural arm-swing rhythm without the distraction of pole placement. After 2 minutes of dragging, begin using poles normally. Most people find their timing and arm extension immediately improve because the drag drill re-calibrates the proprioceptive sense of arm pendulum motion.
The “No-Strap Drill.” Remove the straps from both poles and hold the grips loosely between thumb and fingers only. Walk 5 minutes like this. Because you cannot generate push force through the strap, you must use the arm swing itself to propel the pole — which builds the correct push-and-release muscle memory. When you replace the straps, the movement pattern transfers.
The “Exaggeration Drill.” Deliberately over-extend the rear arm until the pole is nearly horizontal behind you. Walk 50 meters like this, consciously feeling the full tricep and lat contraction at full extension. Then return to normal walking. The exaggeration trains the body to approach (but not exceed) correct extension range, correcting the very common error of releasing the pole too early.
Video Analysis: Your Most Valuable Tool
No instructor feedback is as actionable as watching your own technique at 0.25x playback speed. Set your phone on a bench or wall and walk past it from the side. Look specifically for: pole plant angle (should be behind foot, not beside), arm extension at the rear (should straighten, not stop at 90 degrees), and hand opening (should open fully at release, not maintain a grip). Most errors are invisible at full speed and obvious at quarter speed.
When to Seek Professional Instruction vs Self-Teaching
Nordic walking is genuinely learnable through self-teaching with video resources. However, the self-teaching path has a well-documented failure mode: walkers develop a technically incorrect version of the movement that feels correct to them (because all movement feels normal after you have done it 500 times) and then have to unlearn it later.
Professional instruction makes economic sense in three specific situations: you plan to walk regularly 4+ times per week (the investment in correct technique pays back quickly); you have a pre-existing shoulder, elbow, or wrist injury (incorrect technique under load can worsen these); or you have tried to self-teach but feel uncertain about your form after watching multiple instructional videos.
What a single 60-minute session with a certified instructor provides: A baseline technique assessment, identification of your 2-3 most significant errors, specific drills to address those errors, and feedback confirmation that you have understood the corrections. One session is typically sufficient to establish a technically sound foundation. The INWA (International Nordic Walking Federation) certifies instructors globally — their website has a searchable instructor directory by location.
What good self-teaching looks like: Watch 3+ technique videos from INWA-certified instructors (not fitness bloggers using poles as props). Practice each component drill (strap release, arm swing timing, pole angle) in isolation before combining them. Record yourself from the side at 0.25x speed every 2 weeks and compare to reference technique. Join an online Nordic walking community where you can share video and receive peer feedback.
Frequently Asked Questions
What is the most common Nordic walking mistake?
Gripping the poles too tightly instead of pushing with the strap. This causes forearm fatigue and prevents proper upper body engagement.
Should my arm be straight when Nordic walking?
No. Your elbow should form approximately a 90-degree angle when the pole tip is on the ground beside your foot. The arm extends behind you on the push phase.
Why do my shoulders hurt after Nordic walking?
Shoulder pain usually indicates poles that are too long or planting the pole too far forward. Check your pole length formula and focus on planting near your mid-foot.